10 Incredible Stops on Going-to-the-Sun Road in 1 Day
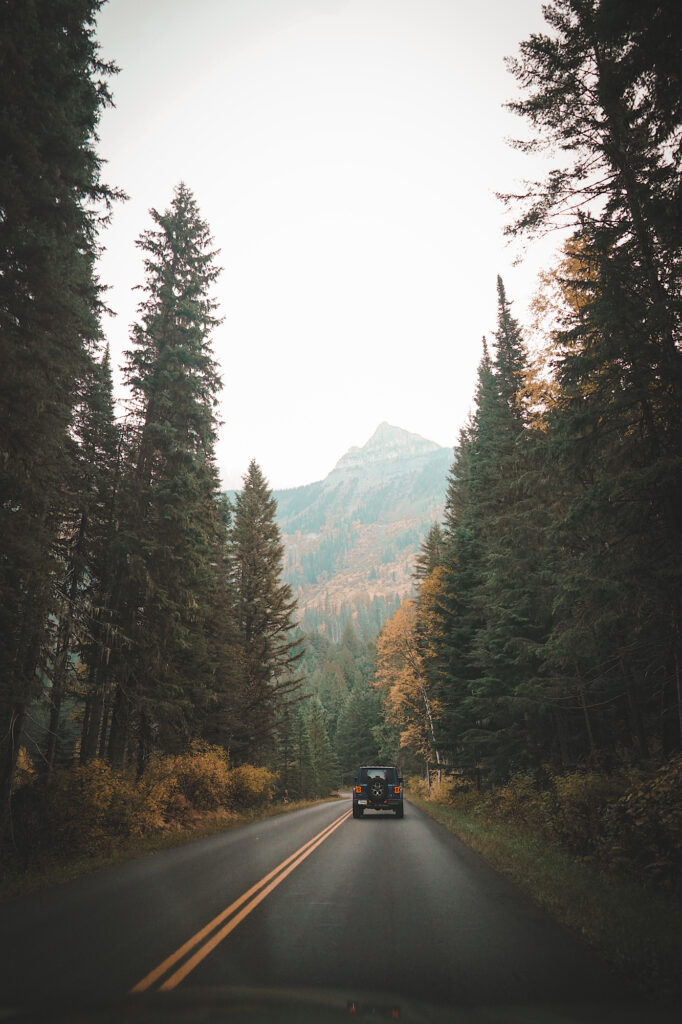
Going-to-the-Sun Road is the most common drive that people make when visiting Glacier National Park. It runs throughout the middle of the park, and it has numerous and clearly-labeled stops that make it extremely visitor-friendly. We had 2 days to spend in Glacier National Park, so we needed to make the most out of these 2 days. What better way to do that than to drive through the whole park?
We planned to spend our entire first day making stops on Going-to-the-Sun Road. Actually, we didn’t even make any plans for our second day there! We knew that actually being in the park and driving through it, we would figure out what peaked our interest the most. And boy, it did.

While there are so many lookouts and stops to make on Going-to-the-Sun Road, there are 10 that stood out to us the most. Also, just know that we stopped a lot more than 10 times. These are just the noteworthy stops that are must-do or must-see. These stops are a good starting point for mapping out your drive.
TIP: Going-to-the Sun Road is so touristy. I will always recommend starting from the opposite end. Everyone else will typically start from the entrance, but we drove all the way to the end of where we could go, first. This helped us see a preview of all of the stops while we drove through. We were able to start taking in the views, carefree, while everyone else was making constant stops. It also helped us make mental notes of what we definitely wanted to see on our way back! Not to mention we had our first stop all to ourselves.
STOP 1: Apgar Visitor Center
I know, I know. This isn’t really on Going-to-the-Sun Road, BUT it should be your first stop. It is right near the entrance on the West side of the park. The Apgar Visitor Center is great for going to the bathroom and filling up your water bottle for the day ahead. You can also get a map of the park to help plan your drive and see what else the park has to offer.
Even when you are out exploring for the day, we actually ended up going back to the Apgar Visitor Center, because it was the only place in the park that we had cell phone service! (I have Verizon). I liked to include this, because it’s important to know where you can find park rangers and more information about the park.
Just note: it is only open from mid-May to mid-October, per the National Park Service website. It is also open on some weekends throughout the winter and spring!
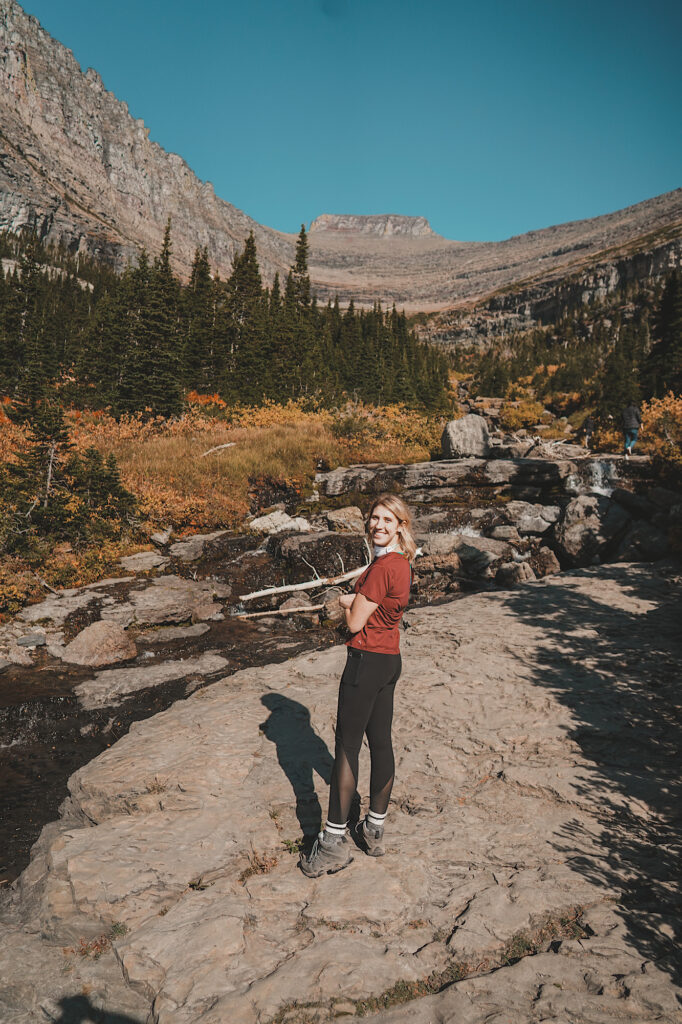
STOP 2: Rising Sun Picnic Area
Like I said earlier, start from the end of Going-to-the-Sun Road! When we went to Glacier National Park, the entire East side of the park was closed. This meant that we couldn’t go onto the Indian Reservation land. Don’t worry, this doesn’t take out many stops on Going-to-the-Sun Road! It just meant we couldn’t exit the park on the Saint Mary Visitor Center side, and the road was closed right past the Rising Sun area.
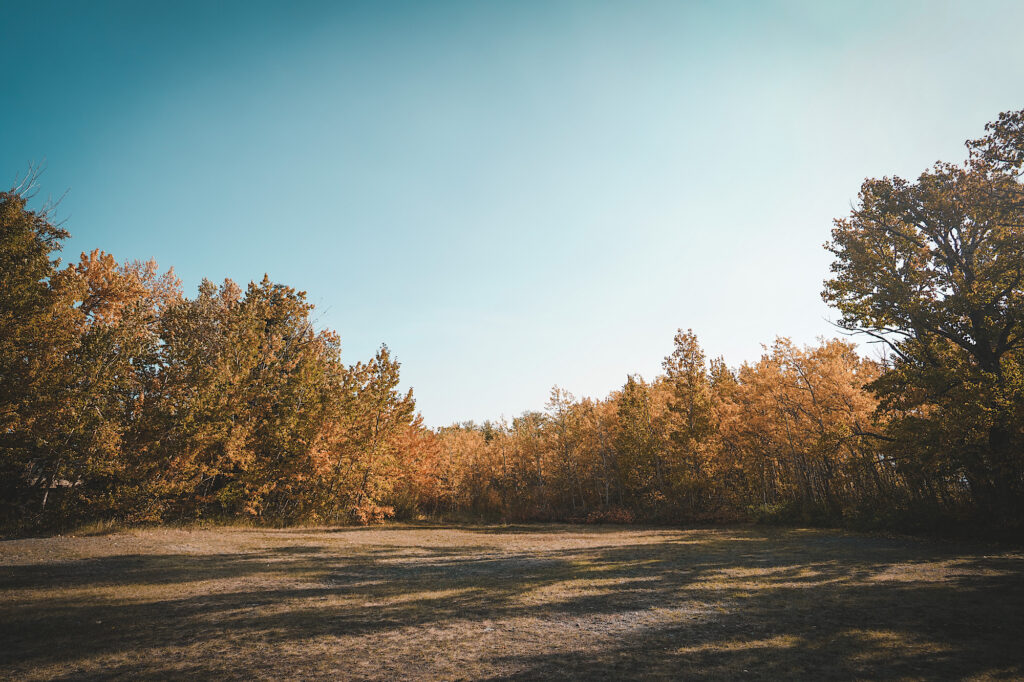
There are actually cabins, an inn, and a campground in Rising Sun! Coming from the West side, all of those things are on your left as you approach this area. If you turn right, however, you will see the Rising Sun Picnic Area. We drove down and parked in a large parking area that had maybe one other car there. We never even saw those people!
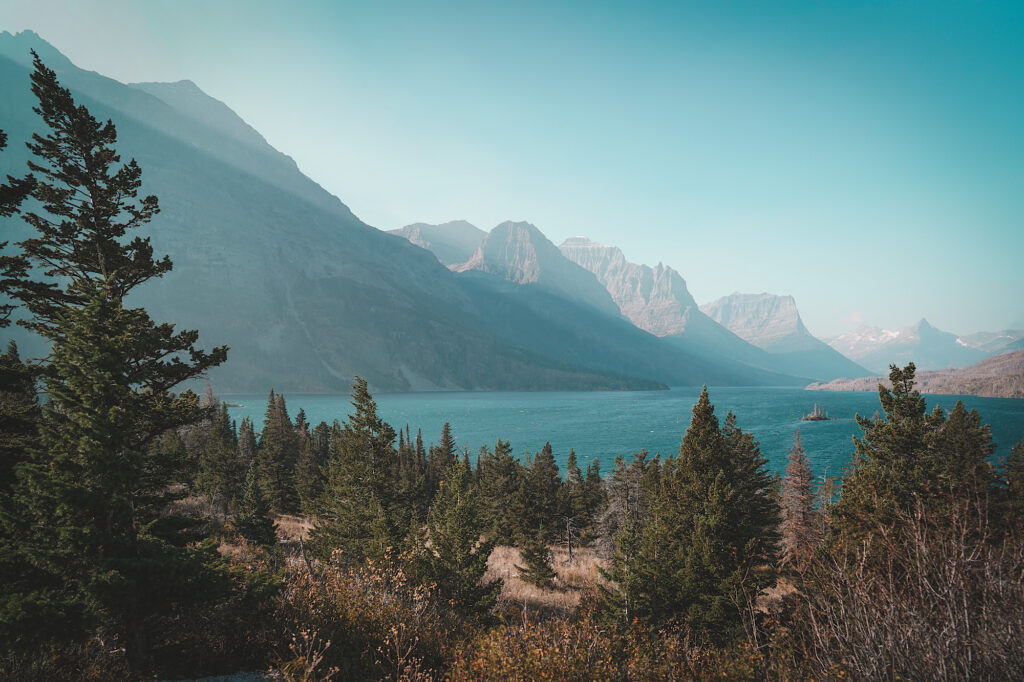
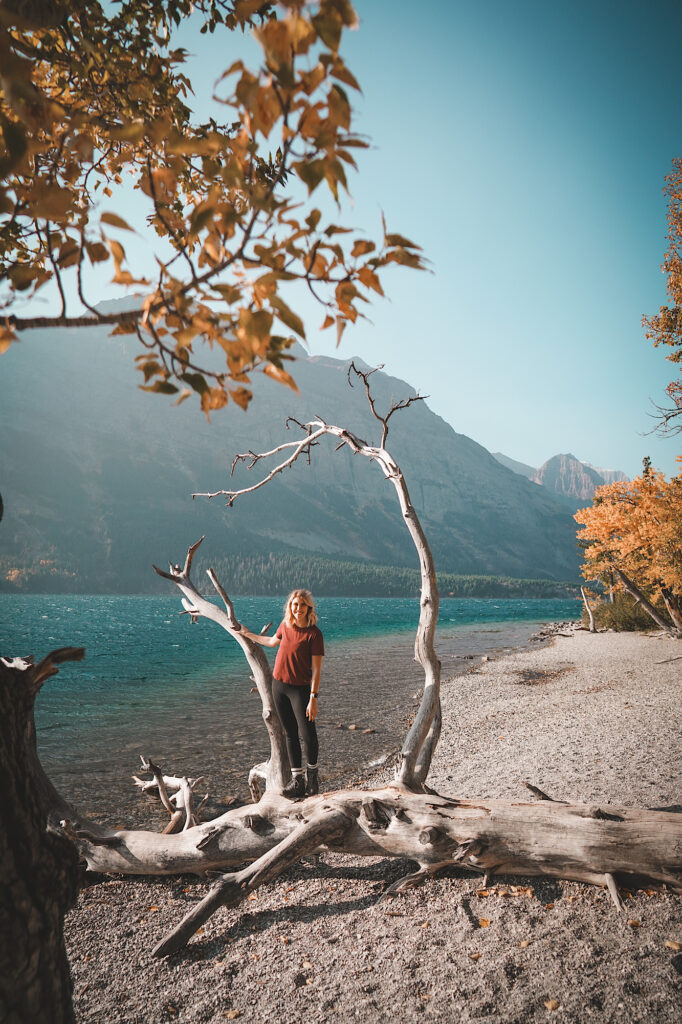
As you are driving West, Saint Mary Lake is on your right the entire time. This picnic area sits in a large grassy field, and there are tables dispersed around it. If you walk through this grassy area, there is a small path that leads directly to Saint Mary Lake.
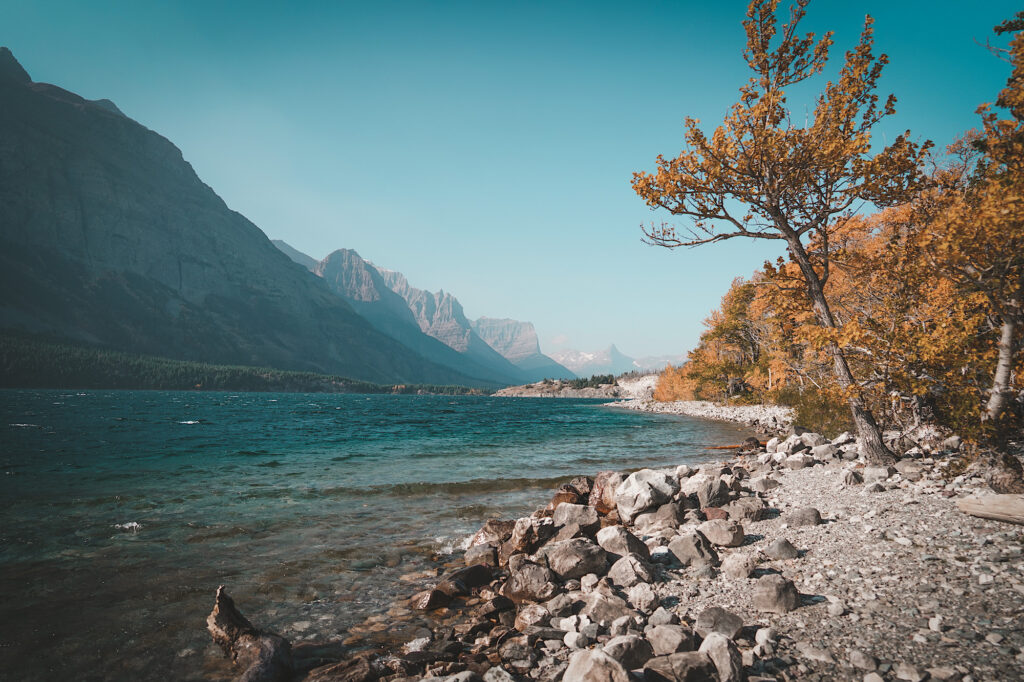
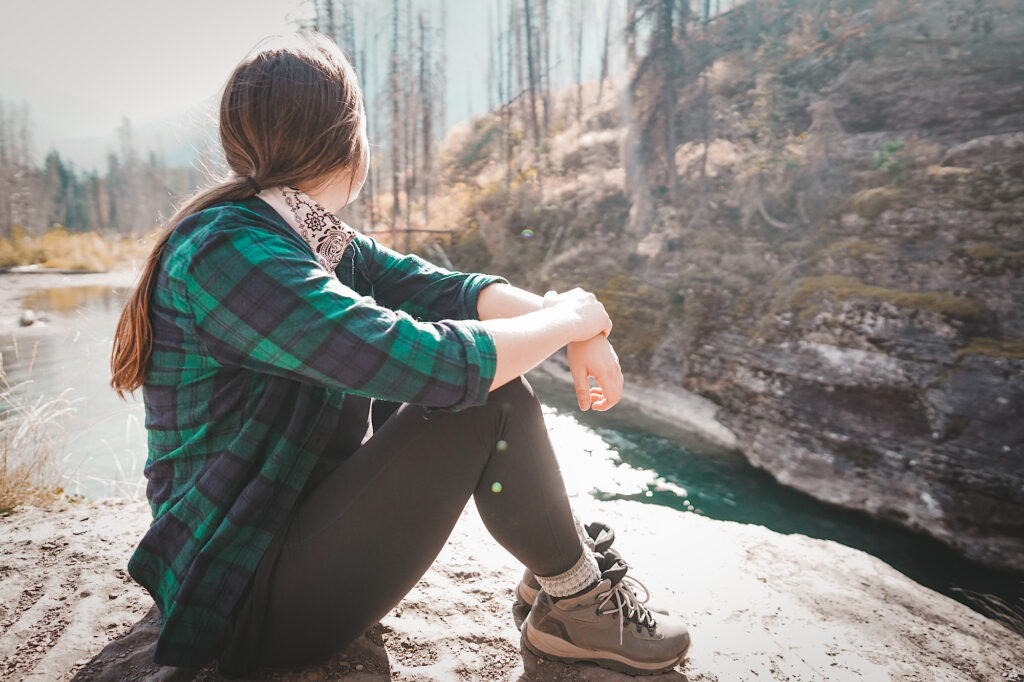
Seriously, there was no other view that we found that was directly on the lake! AND, we were the only ones there! We stepped directly onto the rocky shore, where there was driftwood and trees in all different shapes. We could see the lake stretch out on both sides of us, and we got to just enjoy the windy shore on the clear blue lake. If you want a truly authentic view and easy stop in Glacier National Park, this was it.
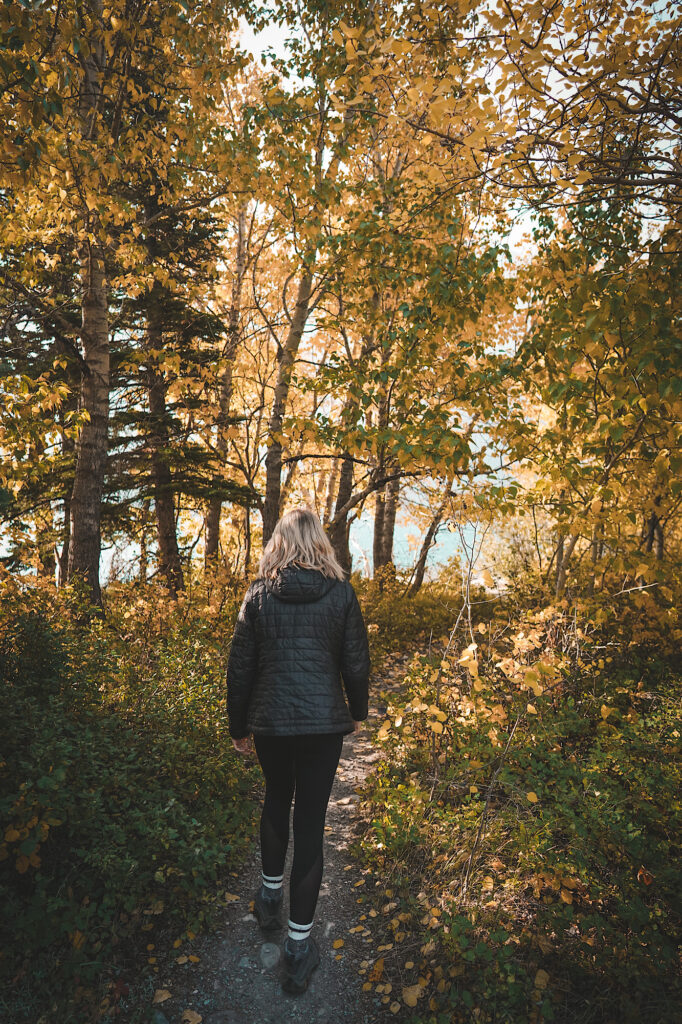
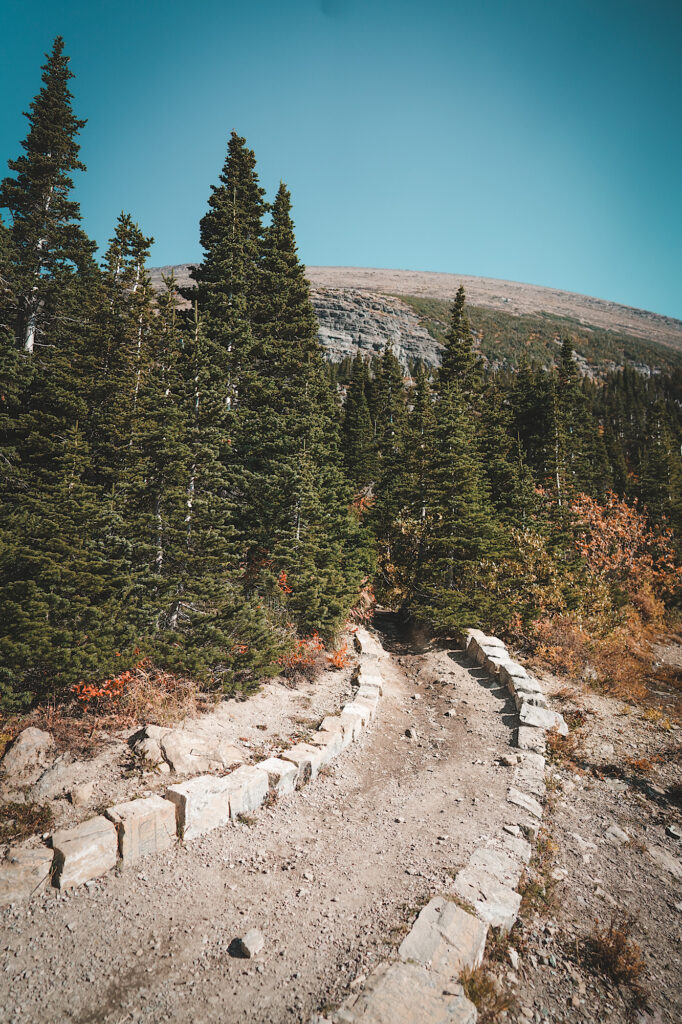
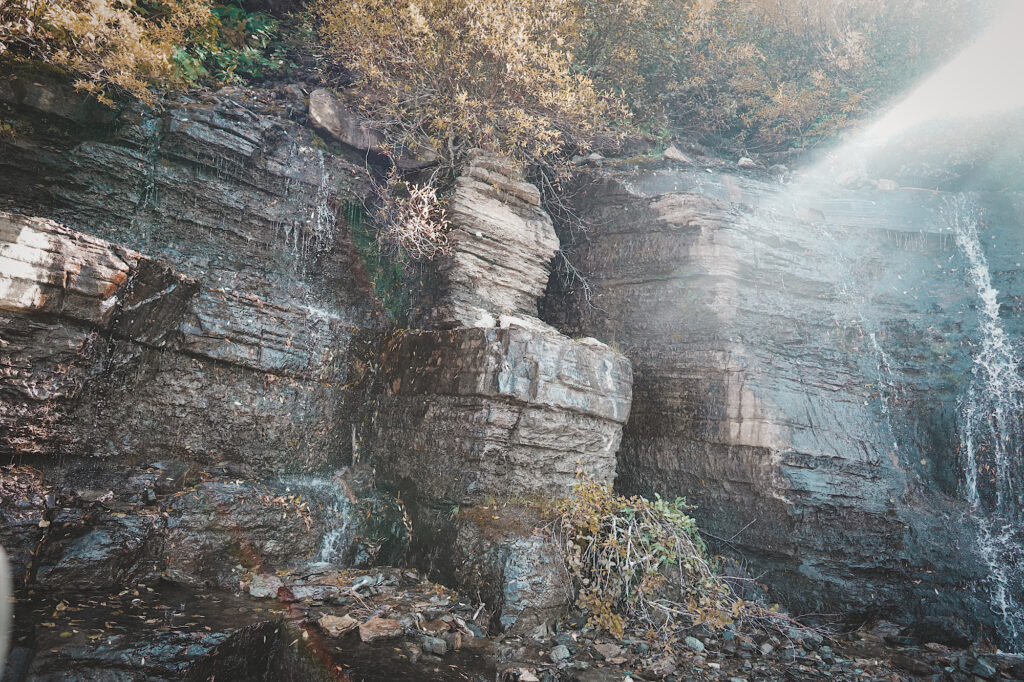
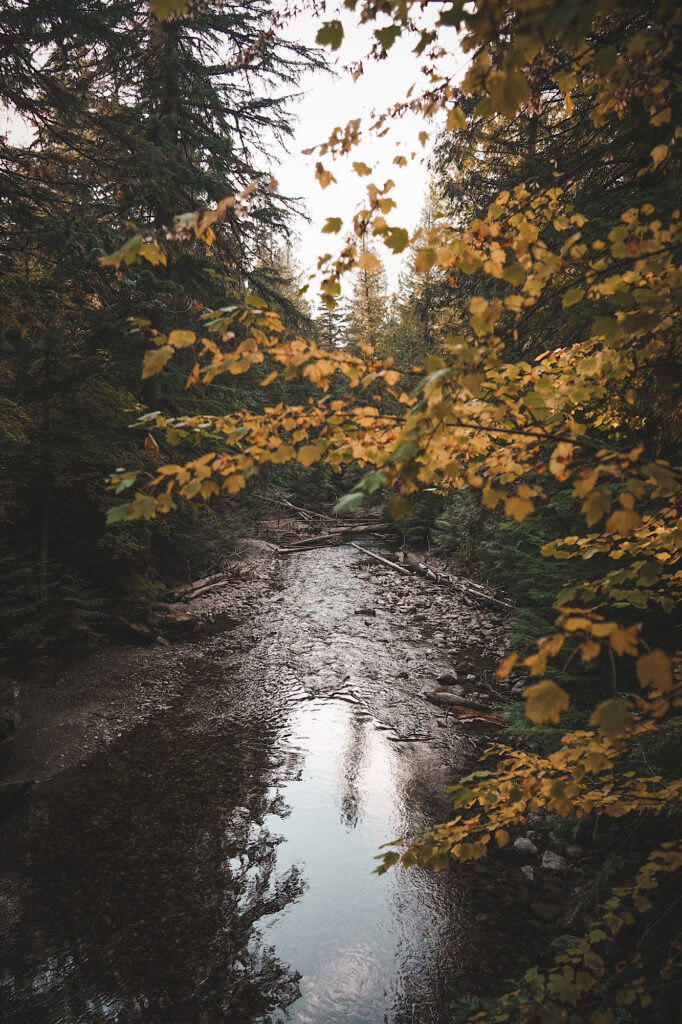
STOP 3: Saint Mary Falls
Next, you have been driving for a while, so it’s time to get moving. Park at the Saint Mary’s Falls Parking Lot (yes, type that in on Google Maps). From here, it is about a 1.2 mile hike to Saint Mary Falls. This hike is pretty easy, but I would say it’s a little more challenging coming back, because there is a hill to get back up to the parking lot. Also, the majority of the hike to the falls is at a slight decline, so it is majority incline going back.
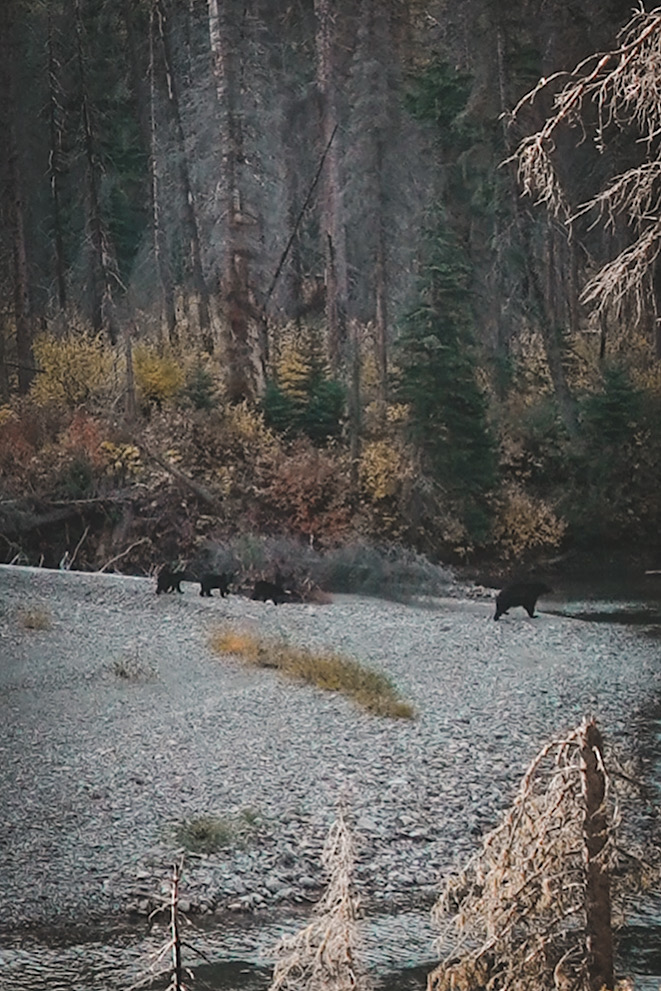
This hike doesn’t really take you near Saint Mary Lake, but there are a few views on the way to the falls. We even saw 3 little cubs following a mama bear on our hike! They were far away so we weren’t worried. They crossed the creek following their mom and they walked all around like that.
Then, we made it to the falls and took some pictures. The water is so blue, and the falls are pretty strong. There is a little wooden bridge that crosses over the water, and if you want to, you can keep hiking to Virginia Falls!
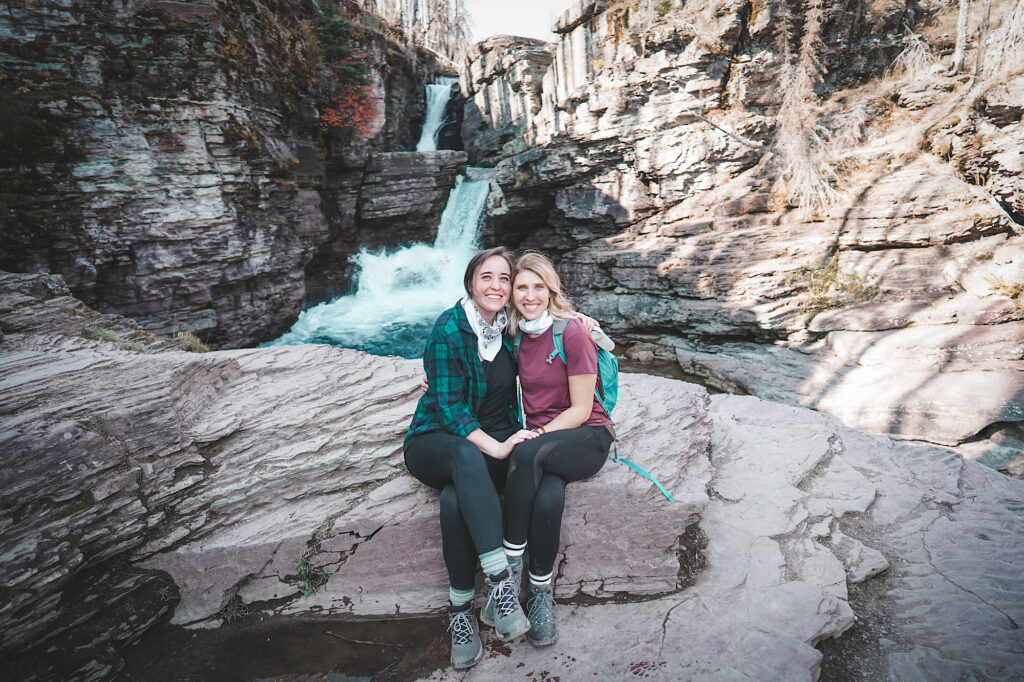
Since we only had one day to do Going-to-the-Sun Road, we only hiked to Saint Mary Falls. It felt good to get moving and break up the day with this quick hike!
STOP 4: Lunch Creek
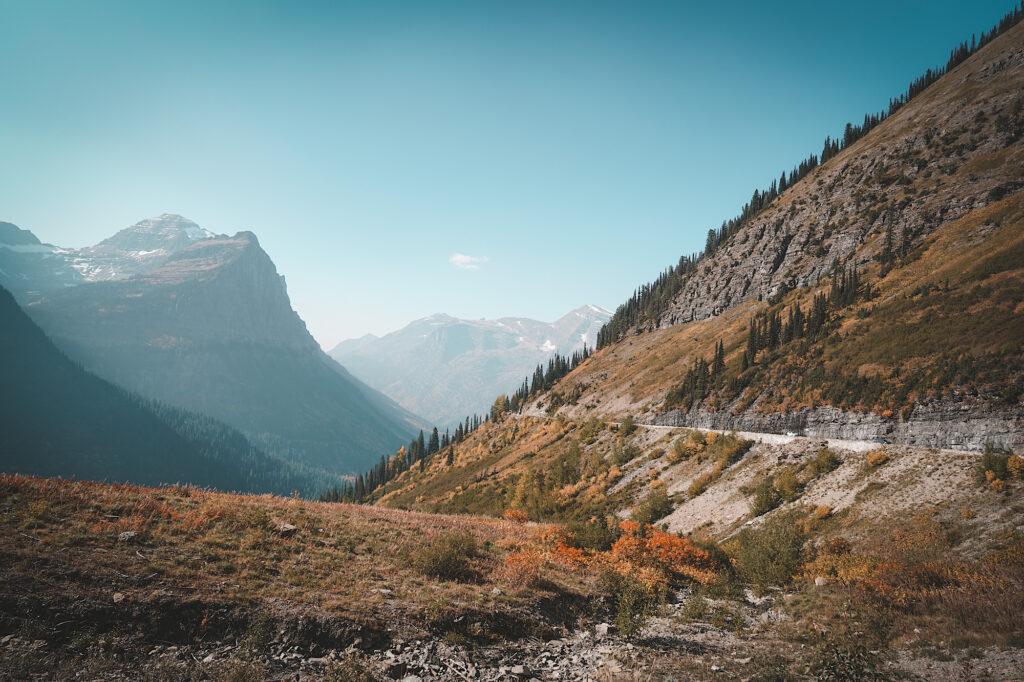
It just so happened that we ate our “lunch” right about the same time as we stopped here. (We bought a bunch of peanut butter crackers and snack foods to eat throughout the day.) Lunch Creek is really just a viewpoint on the way back to Logan Pass, but it is quite beautiful and there was plenty of parking at the time we got there!
It is located in a sort of bend in the road. The creek goes all the way up the mountain on one side of the road and continues down the mountain on the other side of the road. From there, you have a vast, open view of the mountains and valleys in the park.
You can also walk along paths on either side of the road that run alongside the creek. There is nothing extremely significant about this stop, but it offers great views. It is also really close to Logan Pass which is often extremely crowded, so this could be a better place to make a relaxing stop.
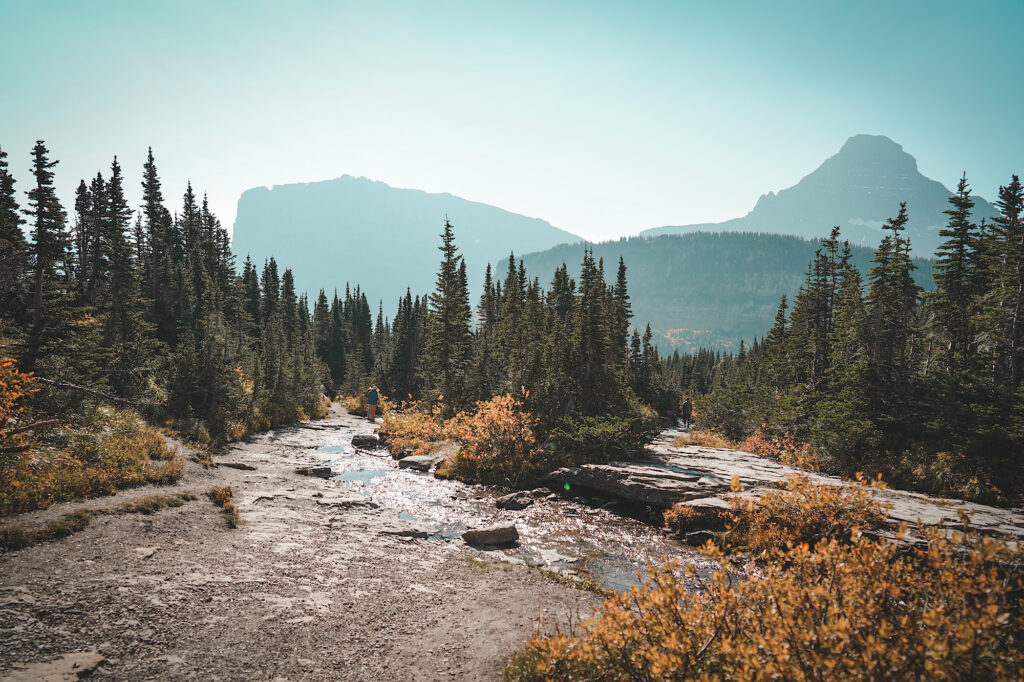
STOP 5: Logan Pass & Overlook
This is probably the most developed stop that’s located essentially in the middle of Going-to-the-Sun Road. It has its own bathrooms, a large parking lot, and even a Visitor Center. It is also known for being the start of the famous Highline Trail (*which I will write about in my next post!). Logan Pass is located on a large bend in the road. It is higher up than the road that it looks down on, and there is even an overlook on the other side of the bend.
Logan Pass also has a sign labeling the Continental Divide. This area feels crazy to witness in real life. It is so high up in the mountains and it looks out over so many incredible views. This is the perfect stop to make in the middle of your drive. You don’t have to hike the Highline Trail or the Hidden Lake Trail to stop here. It is also a good place to just get out and explore near the Visitor Center. You can also park at the overlook located on the hill that sits on the other side of the bend for a more vast view.
STOP 6: Weeping Wall
I don’t have any pictures of this from when I was there. It just hadn’t rained in too long, so the Weeping Wall wasn’t so sad. But the pictures of the water falling down onto the road looks amazing, so at least go see if it’s weeping. It is an area of the road where the rock comes out over the road above the cars, so the water falls directly onto the road and the cars.
To get a view of this from afar, you can stop at the Big Bend or Paradise Meadow stops. This way you can look over across the way to see the Weeping Wall. If it hasn’t rained and there isn’t a view, you can also just make the stops here anyway. It still provides beautiful views.
I mean, it is called Paradise Meadow, after all.
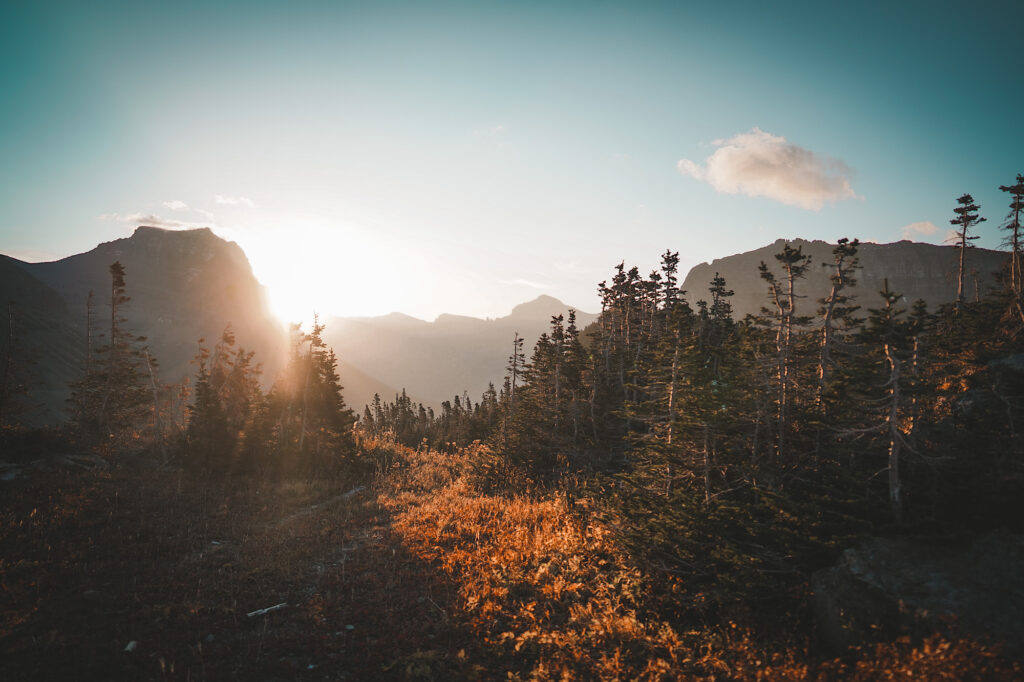
STOP 7: The Loop
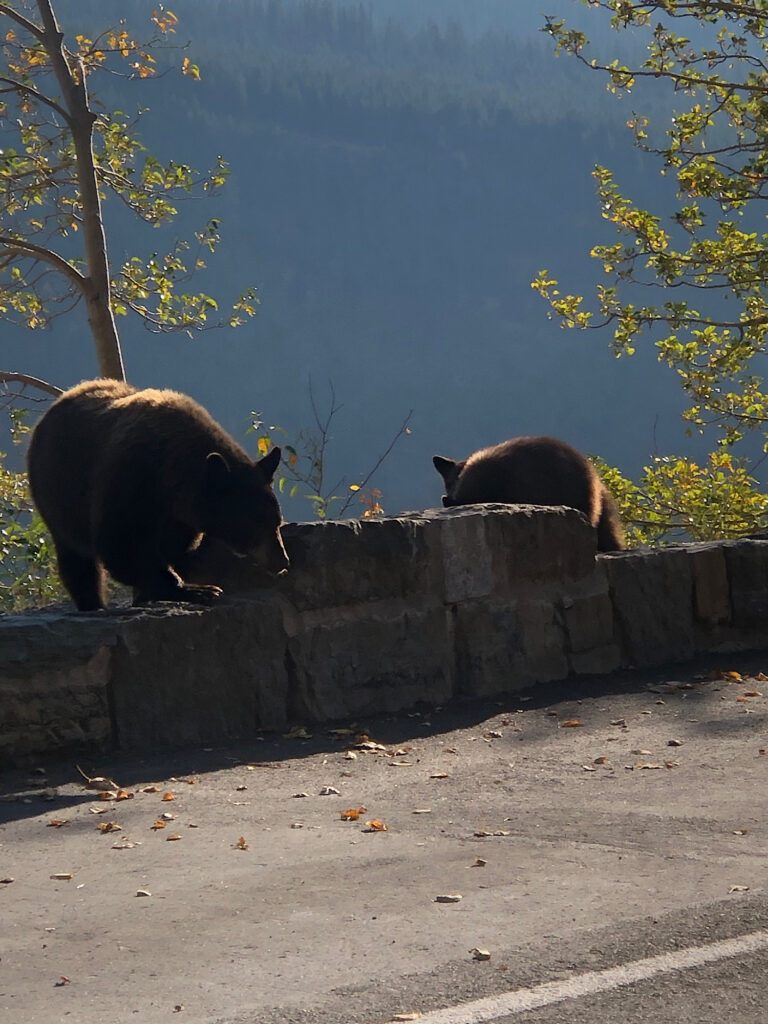
This stop was crowded, so we actually didn’t stop there. But, we passed it enough times to know we would have if we could have found parking! The time we got closest to stopping here was actually when we saw 2 brown bears walking around on the road near here. Yes, it was shocking to us too, because there is genuinely no easy area to walk around. “The Loop” sits right on the side of the mountain. Other than the short walls on the sides of the road, there is essentially a steep incline down the mountains.
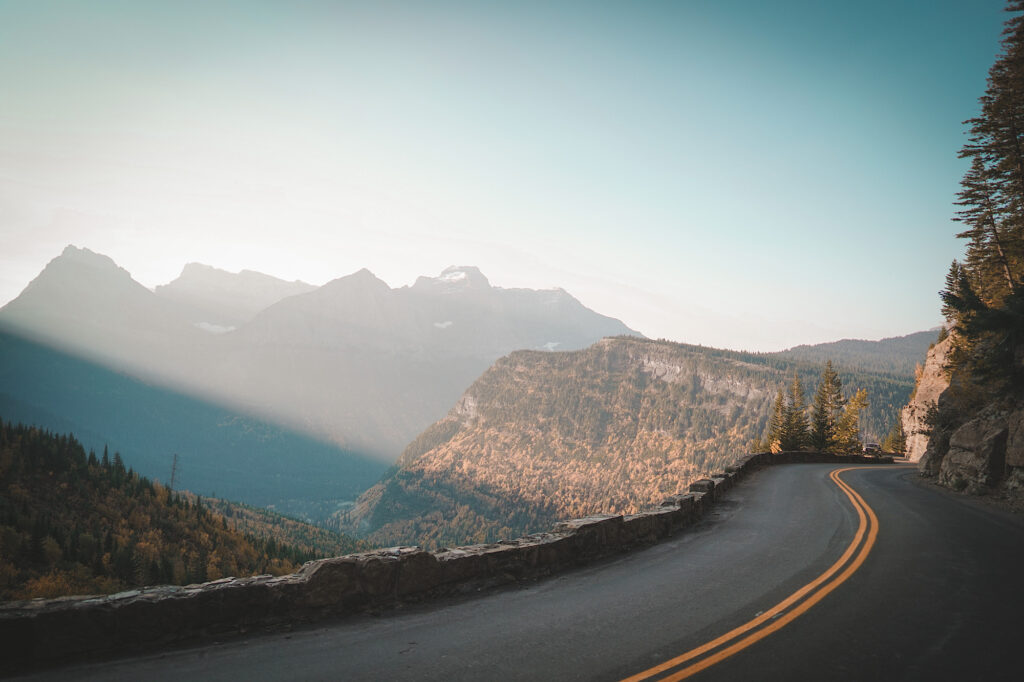
On Google Maps, it is literally described as a hairpin turn on Going-to-the-Sun Road. And boy, it is. It is a sharp, sharp turn. “The Loop” has quite a few parking spaces, but again they were always full when we drove by – at least later in the day. This spot is actually quite beautiful at sunrise, and that is the time when you will definitely find spots! Don’t forget, they also have bathrooms here! They are more like the off-grid bathrooms, but still a bathroom if you need one.
“The Loop” is also the start of quite a few trails, and it is also the ending of the Highline Trail. Just note, while we were there, the shuttles weren’t running, so we couldn’t use this as the end of the Highline Trail, we had to hike out and back.
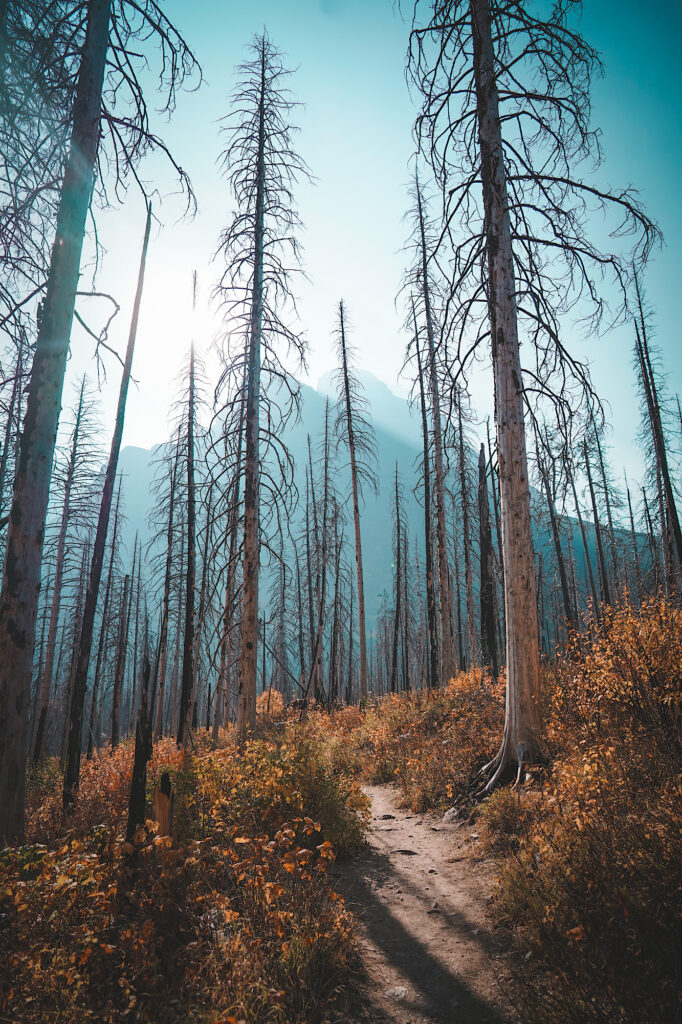
STOP 8: Avalanche Trail
This is closely correlated with Stop 9, which is the Trail of the Cedars. Once you drive back down Going-to-the-Sun Road, the Avalanche Trail Trailhead, is located a couple miles before you get to Lake McDonald. If you are coming from the West entrance, it is a couple miles after Lake McDonald. This parking lot is combined with the Trail of the Cedars parking lot, so it was super packed. We had to drive around at least 3 times before finally getting a spot.
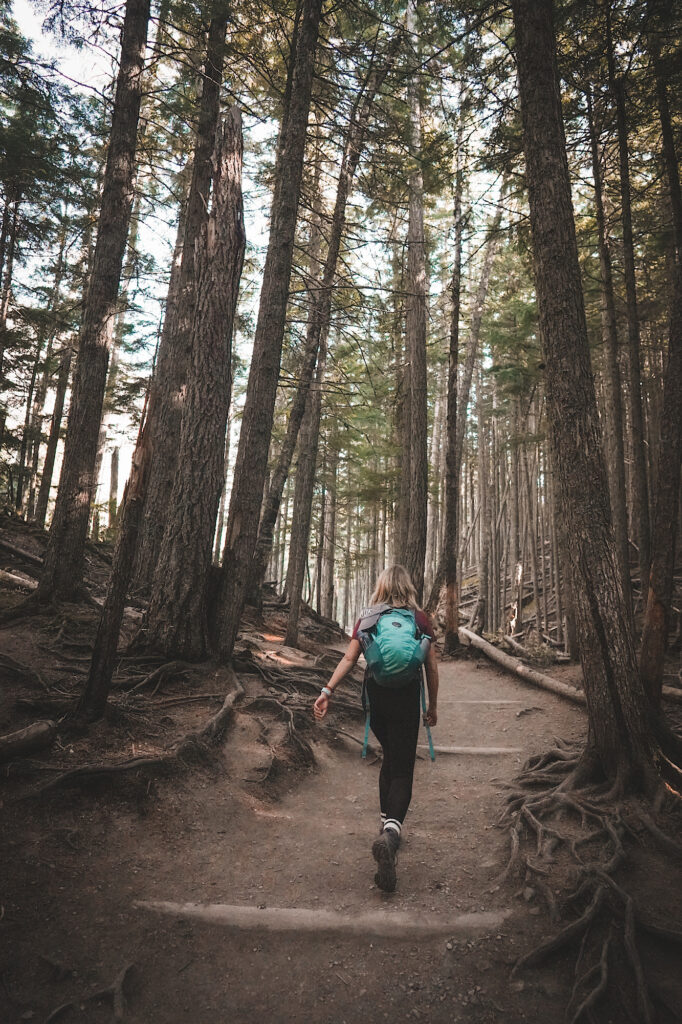
Most of the parking lot is on the other side of Going-to-the-Sun Road from the actual trail. It took us a couple tries to find the actual start of the trail, but keep going past the Trail of the Cedars, and you will see signs! This hike is very much an uphill climb. It is a little over 2 miles each way, but with the Trail of the Cedars it gets to be a little longer.
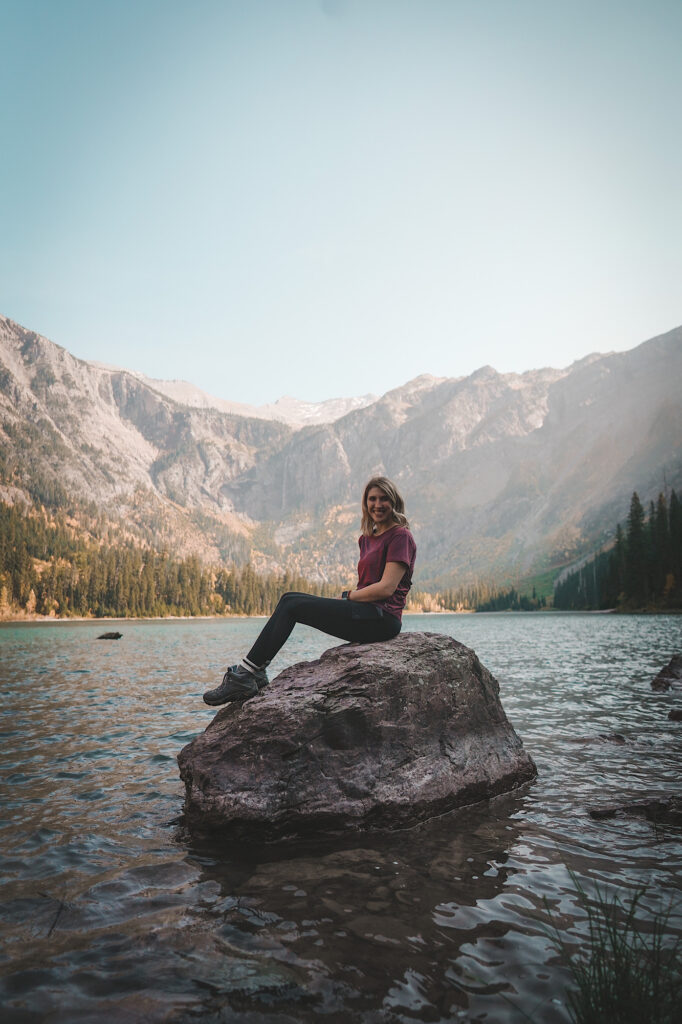
While the hike was majority inclined, it was still doable. This is one of the more popular hikes, so there were quite a lot of people on the trail and also hanging out at the lake once you get there. And boy, the lake made the entire uphill climb worth it.
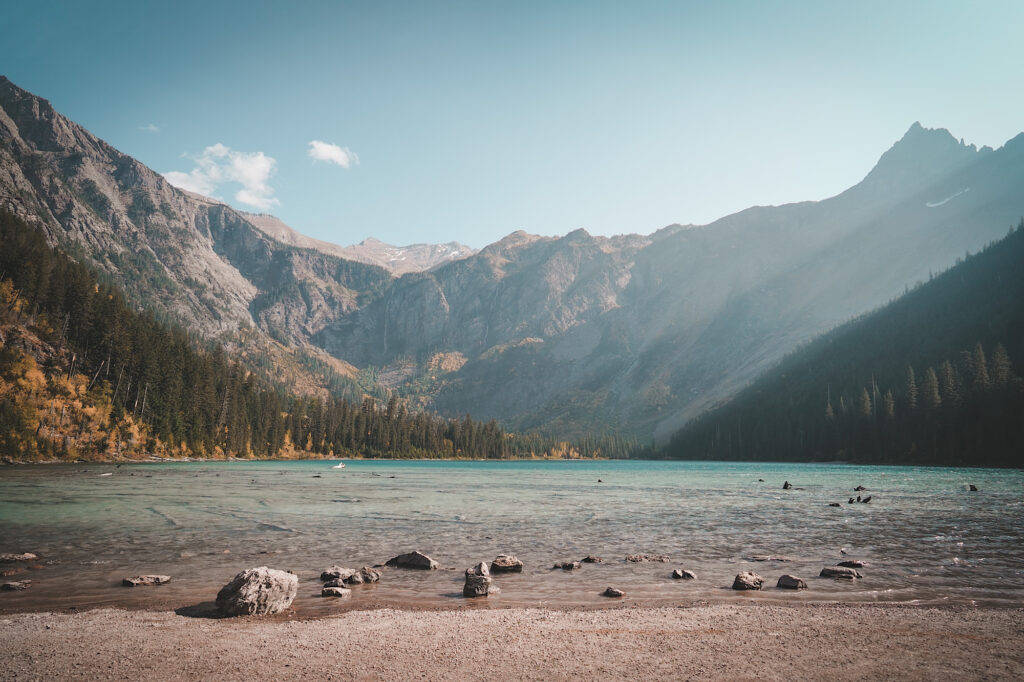
The lake has a sandy shoreline, perfect for relaxing mid-hike. You can also walk around the edge of the lake! We found that there were much less people and so much better pictures the more we kept walking around it. I seriously loved this hike, and I’m so glad we made sure to do this one.
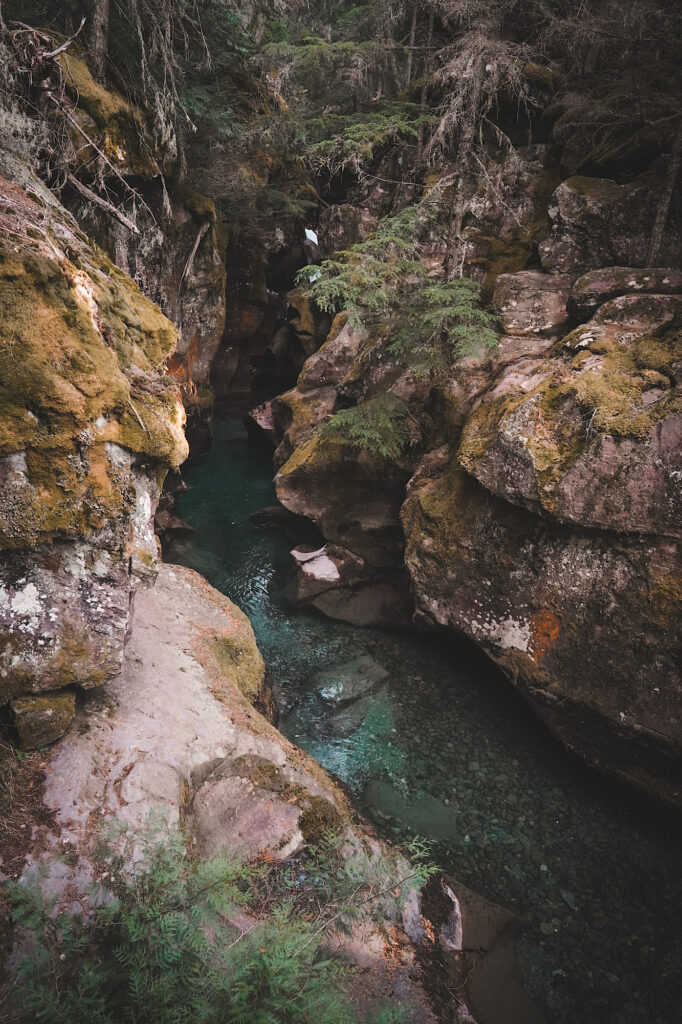
STOP 9: Trail of the Cedars
Like I mentioned above, these two trails are sort of interconnected. But, Trail of the Cedars is much better if you are looking for a more accessible trail for people who utilize a wheelchair or have a more difficult time walking. The entire Trail of the Cedars is a wooden boardwalk that weaves through the green forest.
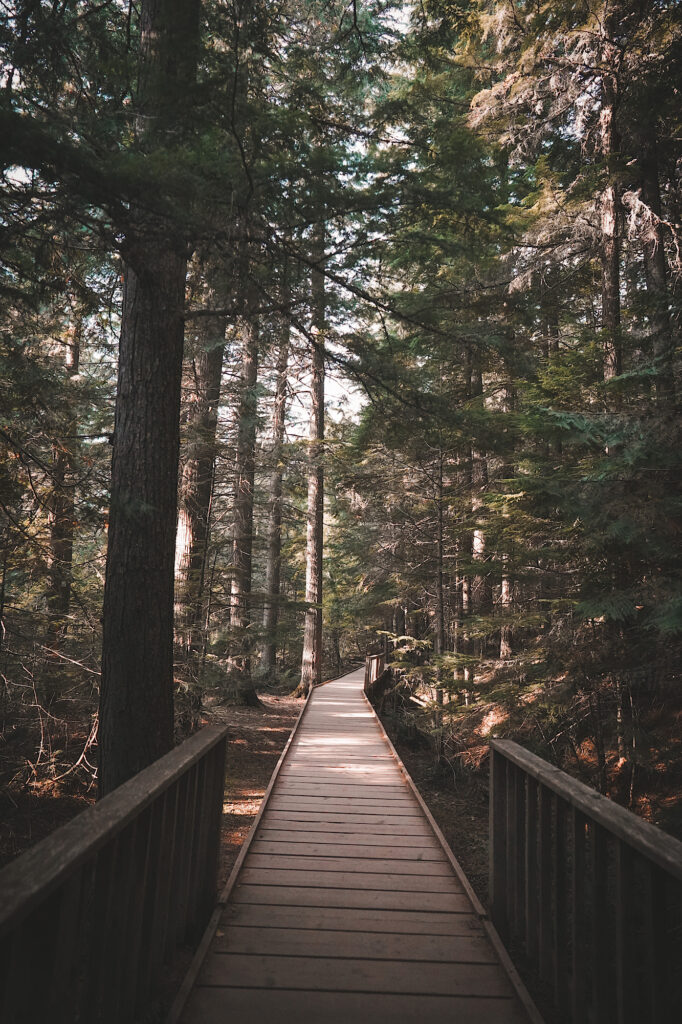
Trail of the Cedars is a loop trail, so it is an easy hike to complete. We ended up just taking the second half of the loop, because we just tacked it onto the end of our Avalanche Trail hike. It was great to be able to leisurely walk through, past streams and waterfalls, on the way back to our car.
Chances are, you have seen pictures of this trail because it is incredibly picturesque. The boardwalk trail towers at least a foot above the ground, so the trees seem to expand out from beneath the trail and tower over you. Do not miss this one, especially if you are with family!
STOP 10: Lake McDonald
Truthfully…we didn’t even stop here. We drove past it a few times on our way in and out of the park, but we actually didn’t feel the need to make a stop here. Sure, we pulled our car into the little pull offs on the side Going-to-the-Sun Road, but we never actually got out.
Even so, it is extremely beautiful at both sunrise and sunset, and there are ways to be able to get closer to the water for a better view. This is a great stop if you want to just take in the peace and serenity of the water. If you don’t get to make it all the way to Saint Mary Lake, make sure you stop at this one. The colorful rocks on the shoreline are truly unlike anything I’ve ever seen before.

At any rate, there are actually cabins and campgrounds right on Lake McDonald, and I would love to be able to stay at those one day. Also, there is a trail that loops around the lake that would make for a great leisurely hike. You could even stop at one of the picnic areas near the campgrounds to be able to sit and enjoy the views of Lake McDonald.
More About Glacier National Park and Other National Parks Nearby:
We embarked on a 5-day road trip to Glacier National Park, Yellowstone National Park, and Grand Teton National Park. Make sure to read the overview of that whole trip and more about the little towns around the national parks! See how we fit over 38 miles of hiking and numerous stops for sightseeing in 3 national parks in only 5 days by reading: Glacier, Yellowstone, and Grand Tetons | 5 Day Road Trip.


One Comment
Pingback: